
Ombre Nail Art– Art of nail is a creative way to decorate, enhance and paint the nails. It is a type of art work that can be done on fingernails and toenails after manicures or pedicures. A manicure and a pedicure are beauty treatments that trim, shape and polish the nail. This article is about Ombre Nail Art, and Nail art is also a way to create its own identity through fashion using colors. Nail art designs trend caught the craze among women and young girls. Nail art come in lots of variations and styles that every girl can try to add class and style to their nails. Even professional nail artists can try these fingernail designs. Different style of nail art has been developed in fashion industry. Some of them are as follows:
- You can make Disney art design on nails on birthday function.
- Flower art on nails is for those who love their freedom and do not like anything holding them back.
- A thin brush and a sponge is all you need for this art on your nails.
- Peacock nail art designs are for those who are wearing a simpler outfit or have a peacock themed event. Do not forget to use glitter nail paint for an additional effect.
- Nail art supplies that are required for nail design are golden glitter and red glitter.
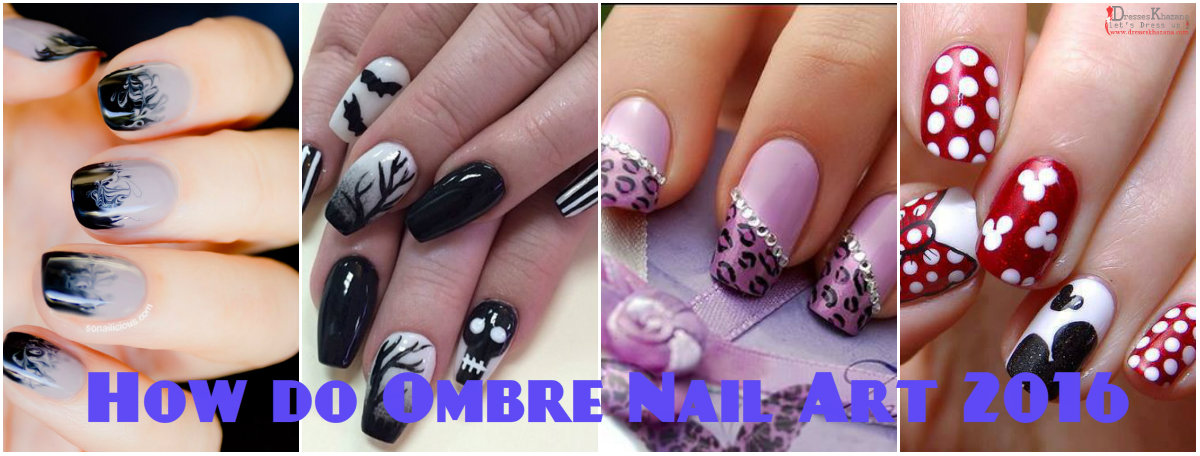
Table of Contents
How to Do Ombre Nail Art for Girls:
Ombre nail art are just like of manicure. Getting the perfect ombre effect can take time and some practice.
Things that you will need to ombre nail art.
- A base coat
- White nail polish
- Three coordinating colors
- A top coat
- Makeup sponges
- Scissors
- Vaseline
- Cuticle Oil
Basic Steps of Ombre Nail Art:
- First of all clean your nails with nail remover to remove any nail polish currently on your nails. Then use a nail file to smooth out rough edges and shape your nails.
- Apply a base coat to all your nails. A clear base coat protects your nails from getting stained by colored polishes and helps extend your manicure.
- Third step is to apply base color coat, which is usually a white polish. A white polish will help colors seem more vibrant, but using the lightest of your planned ombre polishes will give a softer and more ombre effect.
- Paint your ombre colors in straight, horizontal lines side-by-side across a sponge. Start painting a line across the width of the sponge with the lightest color of nail polish.
- Fifth step is stamp the polish onto your nail by pressing the sponge on top of your nail repeatedly, lifting the sponge away every couple of stamps to check.
- Roll the polish on your nails by placing the side edge of the sponge next to the side of your nail. Roll the sponge slowly, over your nail to the other side of your nail.
- When you finished the ombre effect on one nail, reload the polish onto the sponge so the ombre colors remain vibrant and wet.
- Once you have given all of your nails time to dry, add a top coat of clear polish to your nails.
- In the last, clean up the skin around your nails.